Secrets of Excellence

The secrets of excellence in leather carving start simply enough with preparation of the leather. Years ago, maybe even YEARS ago I learned by reinventing the wheel. That means when someone said "case leather" they didn't say how much, with what, how long, they said wet the leather. So in the bathtub it went and soaked, I read about that somewhere, then out it came, dripped a bit and on the table it went for a while. What is a while? Then I learned it should feel cool to the touch and the surface should return almost to the color it started. That's closer to the truth, but then I'd carve and tool the traditional western design and I was DARN SLOW, the cutting was done and half the pear shading and the leather was drying too much. So, I'd wet it with a sponge (the whole thing) and wait for the right coolness and color then race to get to the beveling (the term "race" is relative when you are slow) but by then the leather was too dry again. There was something different about the leather by the 3rd day, it was harder to wet--took longer to come back to color and it actually seemed harder to tool. It really was harder to tool. If this sounds anything like your experiences, read on.
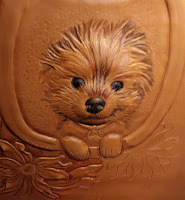
Here's what I do now. When beginning a new carving project, the veg-tanned carving leather, (weight doesn't matter but I use 4 or 6oz. for my specialty, figure embossing) is cut an inch oversize and it's trimmed AFTER all the carving and tooling is done. The surface (grain side) is wiped lightly to cover with pure neatsfoot oil on a piece of shearling and allowed to dry for an hour. Any leather, pre-cut (belt blanks, kits, etc.) or not will like this treatment.
- Use only distilled water for casing. Additives like Carve-Ease are fine but not necessary.
That's the first advice to you. My next topic will be Transferring Designs.
Check out my visit silvafoxartistry.com and see my work on Linked-In, Facebook, Instagram

Comments
Post a Comment